Is your knife not sharpening? 5 reasons and solutions
You spend time on your sharpening stone, you follow the instructions to the letter, but nothing works: your knife stubbornly refuses to cut. It slips on the skin of a tomato and tears the paper. It's undoubtedly one of the most frustrating and discouraging experiences when it comes to maintaining your kitchen tools.
However, be aware that this failure is never accidental. It always stems from a specific and identifiable cause, whether the problem lies with your technique, your tool, or the knife itself. This article is therefore designed as a step-by-step troubleshooting guide. We will help you become a true sharpening detective to identify the exact cause of your problem and, most importantly, provide you with a solution to fix it permanently.
The first check: are you actually sharpening?
Before embarking on a complex investigation, it is essential to dispel the most common misconception. Indeed, many people think they are sharpening their knife when they are only honing it.
The vital confusion between sharpening and honing
As a reminder, these two actions are very different:
- Sharpening is the process of removing metal to create a new cutting edge using an abrasive tool (stone, diamond, ceramic).
- Sharpening is the process of straightening an existing wire that has become bent, usually with a smooth steel sharpening steel.
The diagnosis is therefore immediate: if you use a traditional (non-diamond) steel sharpening steel on a knife that's completely dull, you'll never get it sharp again. Your tool simply isn't designed for that. If this is your situation, the solution is simple: change your tool and opt for a sharpening stone or a honing tool. If you're already using an abrasive tool, then continue your investigation.


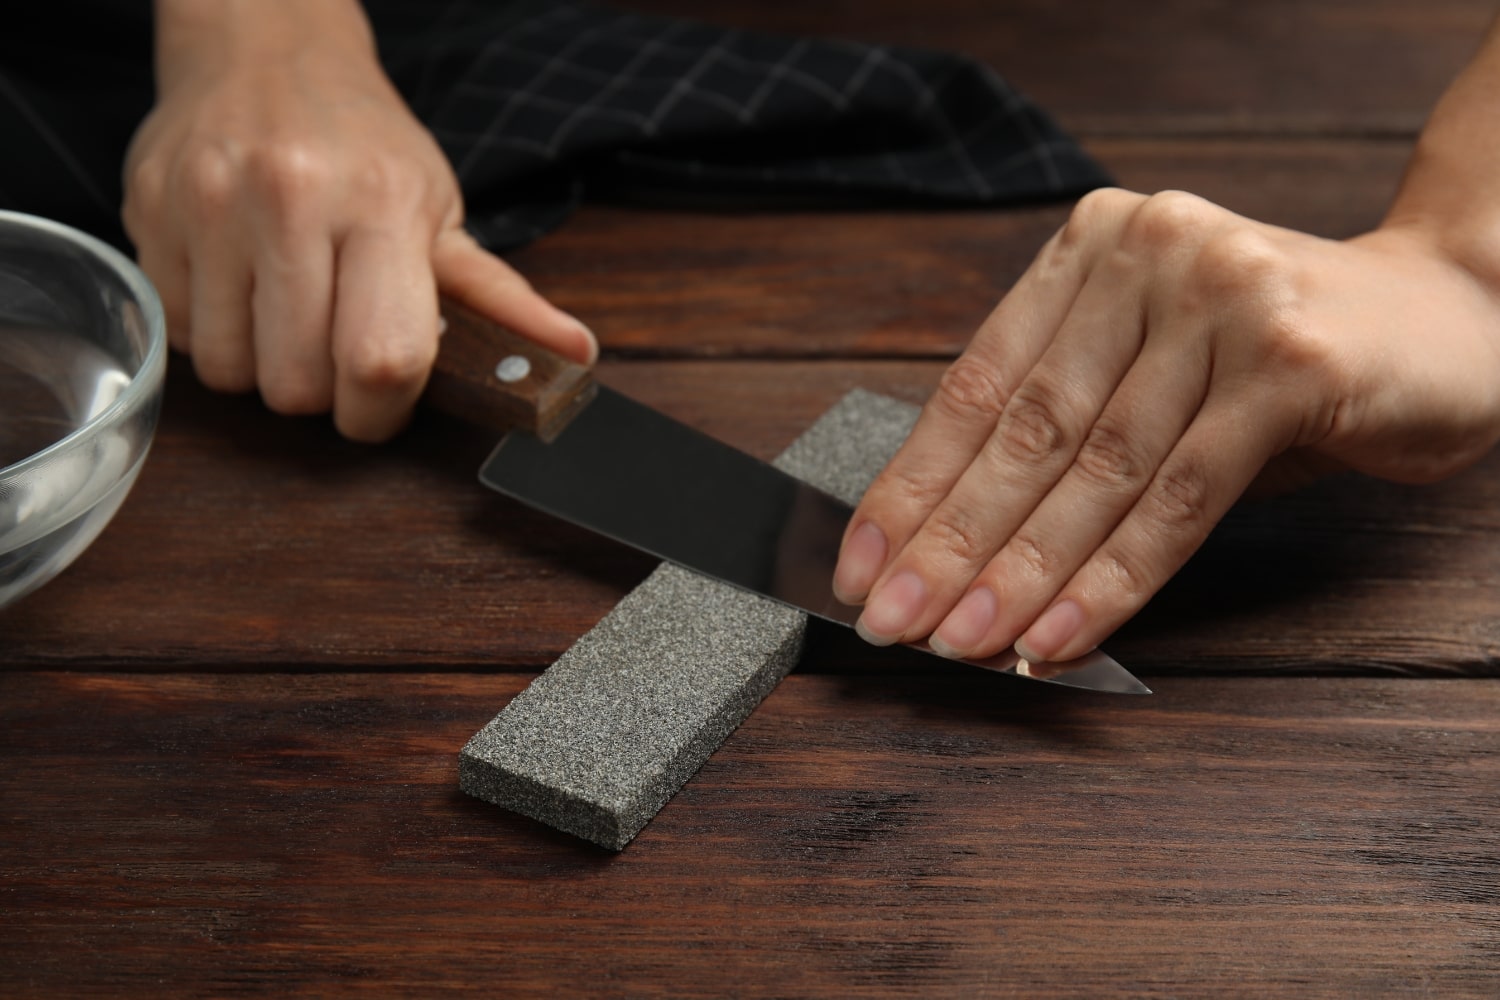
Cause #1: Your technique (the culprit in 80% of cases)
Let's be honest, the vast majority of failures, especially for beginners, stem from small technical errors. This is excellent news, because these errors are the easiest and least expensive to correct.
1. The problem of the angle: it is not constant
- Symptom: You feel like you're spending an endless amount of time on the stone without any results. The knife doesn't seem any sharper than it did at the beginning.
- Diagnosis: This is the most common mistake. Your hand is slightly "rolling" during the sharpening motion. Instead of creating a clean bevel, you're rounding the edge of the blade, preventing it from becoming sharp.
- Solution: Use the marker trick . Color the edge of your blade with a permanent marker. After a few strokes, observe where the ink has disappeared. If it doesn't disappear evenly, your angle is incorrect. Slow down your movement, lock your wrist, and focus on the consistency of the motion rather than speed.
2. The problem with the morfil: you don't create it
- Symptom: Your knife seems to cut a little better, it catches a little more, but it is unable to achieve a truly sharp edge.
- Diagnosis: You probably didn't work long enough on one side to create the "burl." This small metal lip that forms on the opposite side is proof that you've successfully created a new thread. Without it, your work is incomplete.
- Solution: Be patient. Continue sharpening one side only until you can feel that characteristic burr along the entire length of the blade. This is the essential signal that allows you to turn the knife over and work the other side.
3. The problem with the finish: you don't remove the burr
- Symptom: This is a very frustrating case. Your knife seems perfectly sharp right after sharpening, but it becomes completely dull again after only one or two cuts.
- Diagnosis: You created a burr, but you didn't remove it properly at the end. This very thin and fragile metal wire simply bent to give a false impression of sharpness, before breaking cleanly on the first use.
- Solution: Always finish each sharpening session with very light, alternating strokes on your finest stone. A pass on a piece of cork or leather can also help break up and cleanly remove any remaining burr.
Cause #2: Your sharpening tool is the problem
If you are absolutely certain that your technique is sound, then it's time to inspect your tools. Poorly maintained or unsuitable equipment can render all your efforts useless.
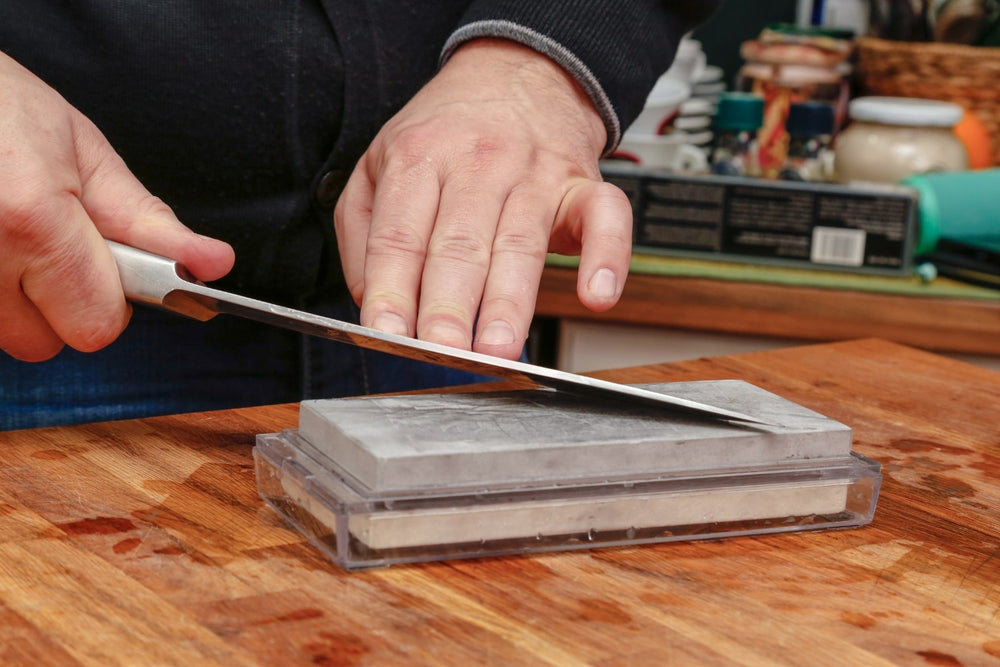
Your stone is dirty or hollowed out.
- Diagnosis: Examine your sharpening stone. If its surface is black, saturated with metal particles, it is "clogged" and has lost its edge. If you place a ruler across it and see a gap in the middle, it is "hollowed out." Sharpening on an uneven surface is impossible.
- Solution: For a dirty stone, a good cleaning with a sponge and a little scouring powder may suffice. If it is hollowed out, it is essential to smooth it with a dressing stone (or flattener) to give it a perfectly flat surface.
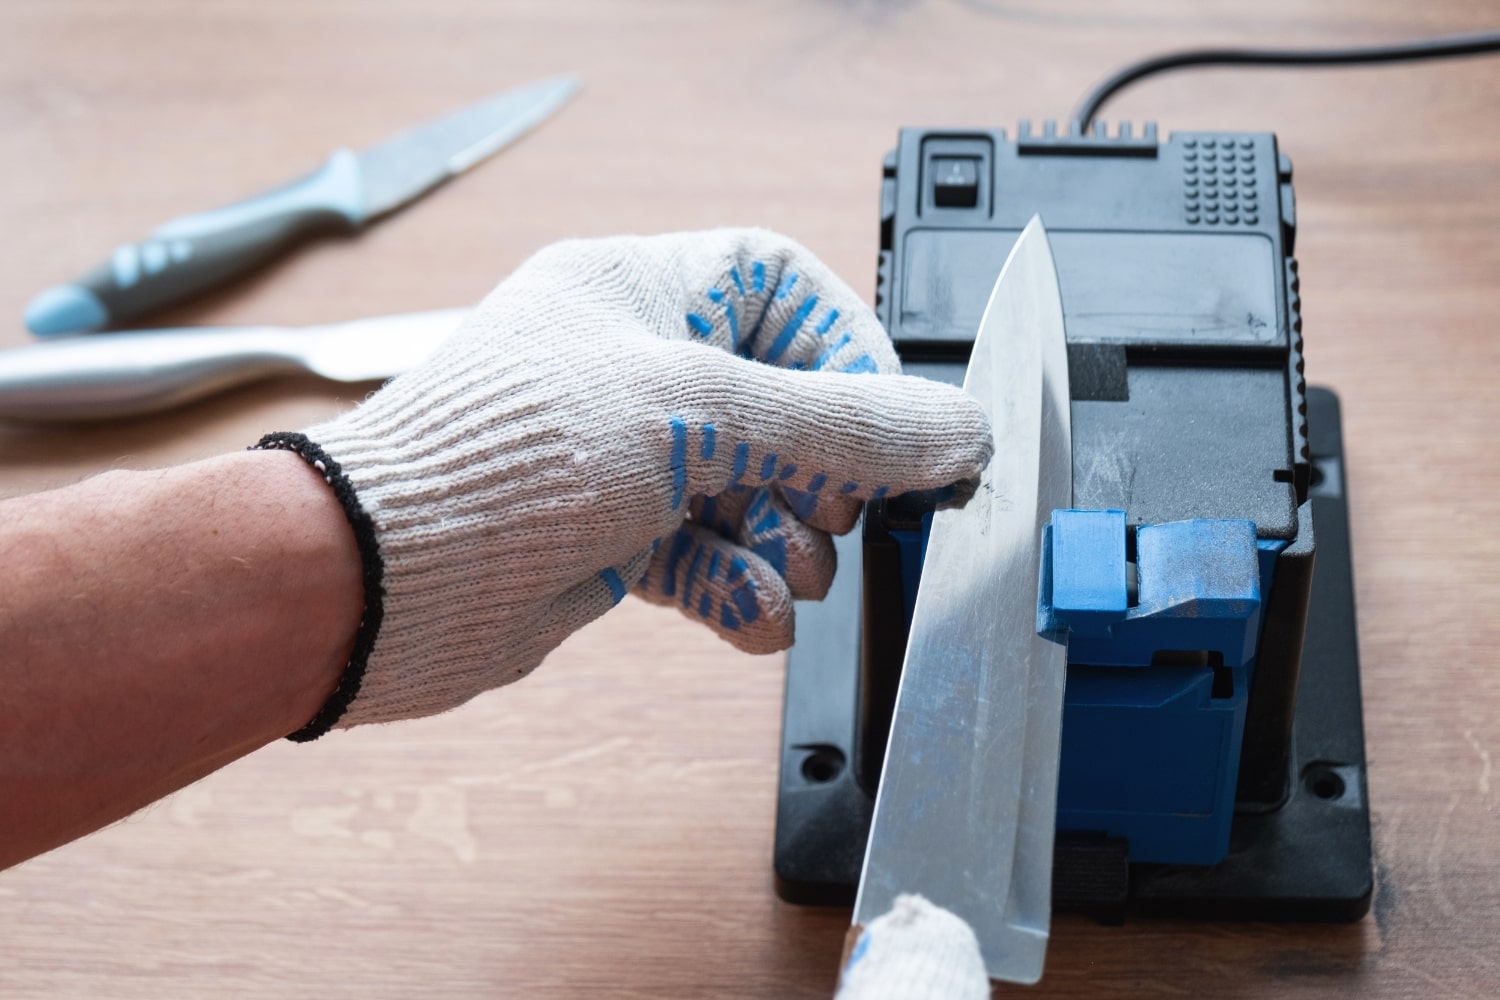
Your manual or electric sharpener is worn out.
- Diagnosis: The carbide or ceramic grinding wheels of manual and electric sharpeners are not eternal. After numerous uses, they wear down and lose their abrasive power.
- Solution: If your sharpener is several years old and its effectiveness has visibly decreased, it is certainly time to replace it.
You are not using the correct grit of stone
- Diagnosis: You are trying to repair a knife with a large chip using only a #6000 grit finishing stone. It's like trying to sand a beam with automotive sandpaper: you could spend days on it.
- Solution: Always adapt the grit of the stone to the condition of the blade. Use a coarse grit (#400) for repair, a medium grit (#1000) for general sharpening, and a fine grit (#3000 and above) for polishing.
Cause #3: Your knife has a specific problem
If your technique is sound and your tools are in perfect condition, the problem may then lie with the knife itself. This is less common, but it does happen.
The steel is of very poor quality
- Diagnosis: This is a typical problem with entry-level knives. The steel used is so soft that it sharpens very easily, but it is unable to retain that edge . The edge bends or breaks after the first cut of even slightly hard food.
- Solution: Unfortunately, there's no magic bullet. You can certainly sharpen it before each use, but the result will never last. The only real long-term solution is to invest in a knife made with higher-quality steel.
The blade's edge has become too thick
- Diagnosis: After years of repeated sharpening, the tip of the cutting edge has "moved up" along the blade, towards a thicker section of the steel. As a result, even if the edge is sharp, it's the "shoulder" of the bevel, which is too thick, that comes into contact with the food, giving the impression of a poor cut.
- Solution: This is a more advanced case that requires re-sharpening the entire blade profile by removing a significant amount of material from the sides. This is a long and tedious process, requiring a very coarse-grit stone. It is often at this stage that it is advisable to call upon a professional sharpener.
Summary: Your action plan for a successful diagnosis
To help you see things more clearly, here is a simple checklist to follow in order to quickly identify the culprit.
| Stage | Question to ask yourself | If the answer is NO… |
| 1 | Do you use an abrasive tool (stone, diamond/ceramic sharpener)? | You're sharpening, not honing. Change your tool. |
| 2 | Are you maintaining a constant angle (checked with a marker)? | The problem is your angle. Slow down and concentrate. |
| 3 | Do you feel a burr along the entire length after working one side? | The problem is the creation of the burr. Work longer. |
| 4 | Is your tool in good condition (clean, flat, not worn)? | The problem is the tool. Clean it, flatten it, or replace it. |
| 5 | Is your knife of decent quality? | The problem might be the knife itself. Consider replacing it. |
Conclusion: Don't give up, find the cause
In conclusion, a knife that refuses to sharpen is not a lost cause. It's simply a puzzle waiting to be solved. The solution almost always lies within one of the three areas we've explored: your technique, your tools, or, more rarely, your knife itself.
Be patient and systematic in your approach. By following this diagnostic guide, you will not only find the solution to your problem, but you will also develop a much deeper understanding of the subtle art of sharpening. The satisfaction you will derive from it will be all the greater.

This site is protected by hCaptcha and the hCaptcha Privacy Policy and Terms of Service apply.