

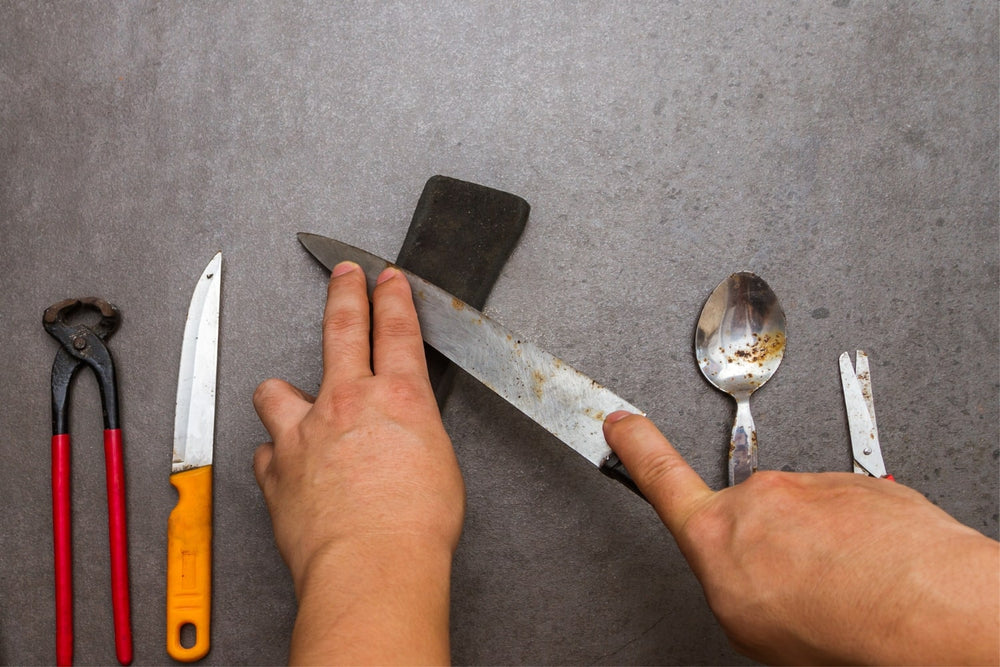
How to sharpen a knife at home without any equipment
Imagine the scene: you're about to prepare a delicious meal, but your kitchen knife refuses to cut a tomato and turns it into a shapeless mush. Even worse, you rummage through your drawers and realize you don't have a sharpener handy. The situation seems hopeless, but don't despair. Your kitchen is full of everyday items that can be transformed into surprisingly effective sharpening tools.
This article is your ultimate troubleshooting guide. We'll show you, step by step, how to use these items to restore a functional edge to your knife. The goal isn't perfection, but to save your dish and allow you to cook under good conditions.
Before we begin: an important warning
Before you begin, it is absolutely crucial to read and understand the following points. The methods we will describe are emergency solutions, which come with limitations and risks.
A temporary fix, not a professional method
Let's be clear: the goal here is to achieve a functional edge for emergencies, not a razor-sharp edge worthy of a professional. The result will always be inferior to that obtained with a proper sharpening tool. Consider these techniques an excellent "plan B."
The risks to your equipment
By using objects that are not intended for that purpose, you take certain risks.
- It is possible to scratch your knife blade , especially if the abrasive surface you are using is uneven.
- The object you use as a sharpener, such as a cup or plate, can also be scratched or damaged . For this reason, don't choose your grandmother's antique tableware!
Safety first: the risk of things going wrong
The surfaces we will be using are not designed to be stable sharpening surfaces. The risk of your blade slipping is therefore higher than with proper equipment. Consequently, caution, slowness, and concentration are absolutely essential.


Method #1: The ceramic mug (the simplest and most recommended)
This technique is the best known, the safest, and undoubtedly the one that gives the best results among the makeshift methods. You almost certainly have what you need in your cupboards.
The equipment: finding the right cup or plate
The secret lies beneath your dishes. Turn over a ceramic cup or plate (not glass or fine porcelain). You'll find an unglazed ring , the base on which the object rests. This slightly rough part is an abrasive surface that will serve as your makeshift sharpening stone.
The step-by-step technique
- Stabilize the cup: To avoid any accidents, stability is key. Turn the cup upside down and place it firmly on a damp, folded cloth. It must not be able to slide on your work surface.
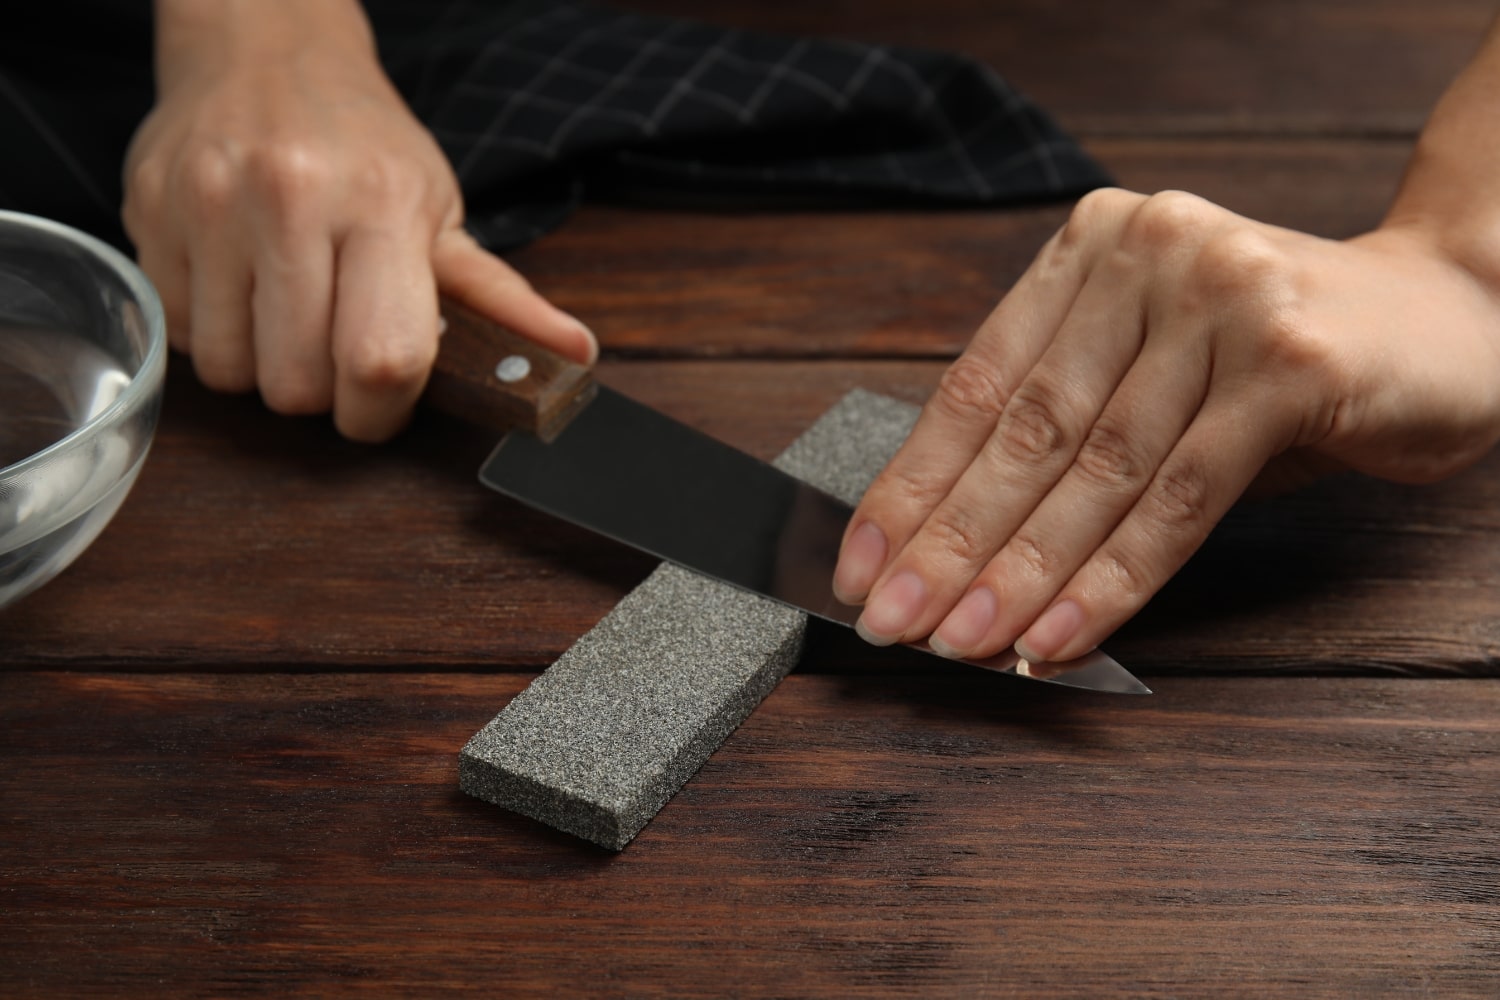
- Finding the right angle: Take your knife and maintain a constant angle of approximately 20 degrees between the blade and the ceramic circle. To help you, this is roughly equivalent to the thickness of two coins stacked under the back of the blade.
- The sharpening motion: Slide the blade's edge along the ceramic circle, as if you were "cutting" a very thin slice from the cup. The motion should start at the heel (the part of the blade near the handle) and move to the tip. Apply light, consistent pressure.
- Checking the burr: Even with this method, the sharpening principle remains the same. After making 10 to 20 strokes on one side only, gently run your fingernail from the back of the blade towards the edge on the opposite side. You should feel a very thin burr of metal: the burr.
- Switch sides: Once you feel this burr along its entire length, turn your knife over and repeat exactly the same process on the other side of the blade.
- Cleaning the blade: Finally, rinse and dry your knife thoroughly to remove fine metal dust and ceramic particles.
Method #2: Sandpaper (the most effective solution if you have some)
If luck is on your side and you happen to have a piece of sandpaper handy, then you have the best option for a makeshift sharpening that comes close to a professional result.
The equipment: what type of grain and on what surface?
- The grit: Ideally, you would need a fine grit, between 400 and 800. If you only have a coarser grit, go even lighter.
- The support: This is the most important point. You must fix your sandpaper to a perfectly flat and stable surface. A sheet of glass, the back of a large tile, or a piece of marble are perfect supports.
The technique: just like on a real stone
Once your sandpaper is securely fixed to its flat backing, the process becomes identical to that of a real whetstone. You can then follow the steps described in the previous method: find the right angle, make the passes, look for the burr to form, change sides, and clean.
Method #3: Brick or concrete window sill (as a last resort)
This falls into the category of "survival" or "extreme solution." This method should only be used in cases of absolute necessity, and preferably with a low-value knife, as it is very aggressive.
The technique: gentleness and caution on an aggressive surface
Find the smoothest, flattest part of the brick or windowsill you can find. If possible, use a little water as a lubricant to minimize damage. Then, make extremely light strokes, with the sole aim of recreating a semblance of a bead so the knife can work again. Don't expect a fine finish with this method.
False good ideas: methods to absolutely avoid
Finally, be wary of certain "tips" you might see on the internet. At best, they are ineffective, and at worst, very dangerous for you and your knives.
- The back of another knife: Rubbing two blades against each other is the best way to damage both.
- A smooth steel sharpening tool: This tool is only useful for straightening an already sharp edge; it is incapable of creating a new one on a dull blade.
- The edge of a glass pane: This is an extremely dangerous method that presents a risk of breakage and serious injury. It is strictly forbidden.
Conclusion: Effective for temporary repairs, but not for long-term use.
You now know that it's entirely possible to get out of a sticky situation and restore a knife's edge using whatever you have on hand. The ceramic cup method, in particular, remains the simplest and most recommended for emergency home use.
Keep in mind, however, that these techniques are and should remain an excellent backup plan. They will never replace the quality, safety, and durability of a result achieved with a proper sharpening tool. To avoid finding yourself in this situation again, we encourage you to consider purchasing a simple manual sharpener. Your future self, while preparing meals, will thank you.


This site is protected by hCaptcha and the hCaptcha Privacy Policy and Terms of Service apply.