

How to rivet a knife handle step by step
Riveting is much more than a simple assembly technique; it's a traditional method that signifies the quality and durability of a handcrafted knife. By creating a permanent mechanical fastening, you ensure your knife is exceptionally strong, while also giving it a classic and elegant aesthetic. This process may seem technical, even intimidating, with its precise drilling and hammering steps.
However, we'll prove to you that this skill is entirely achievable with the right method, patience, and tools. This guide will break down the entire project into clear and simple steps. By following our advice, you'll be able to assemble or repair a riveted knife handle you can be truly proud of.
Before you begin: preparation is the key to success
As with any craft project, the quality of the final result depends 80% on the care you take in the preparation. Take the time to gather your materials and organize your workspace before you begin. This step is the real key to success.
The list of tools and equipment
For the handle:
- The knife blade, which must be of the "full tang" type (the metal, called the tang, extends along the entire length and shape of the handle).
- The scales, which are the two pieces that will form the handle (made of wood, G10, Micarta, etc.).
- Rivet stems, with a diameter corresponding to the holes in the silk (made of brass, nickel silver, copper or stainless steel).
- Two-component, slow-setting epoxy glue (at least 30 minutes), which will give you time to work.
Regarding tools:
- Safety: Protective eyewear, a dust mask and gloves are essential.
- Drilling: A drill. Ideally, a drill press for perfect verticality, but a well-guided hand drill will do. Also, make sure you have drill bits the same diameter as your rivet stems.
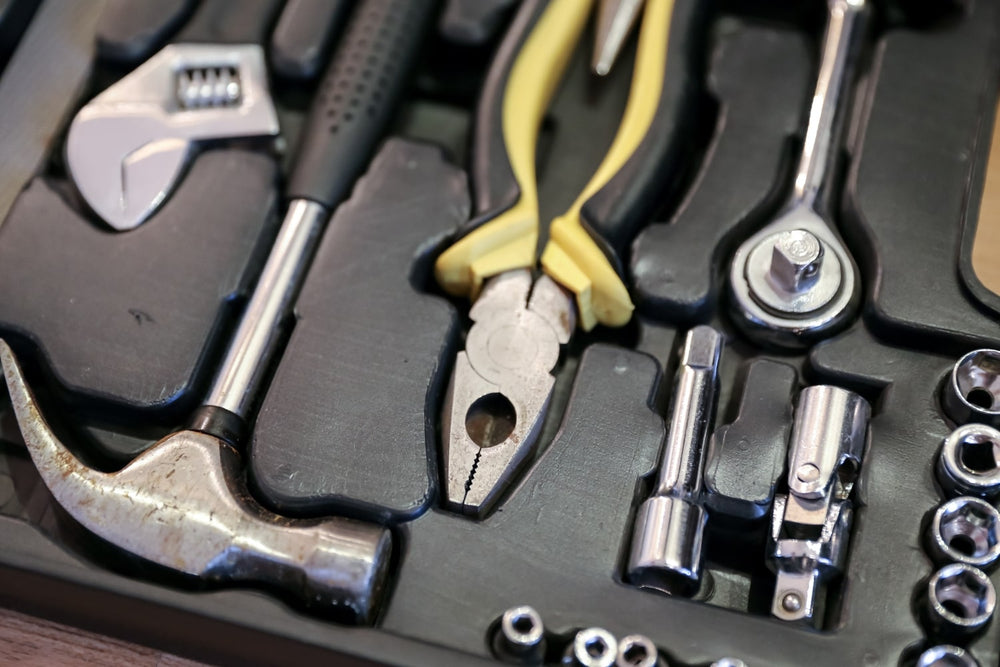
- Riveting: A hammer with a round face (or mechanic's hammer). This is the specific tool required. Also, have a hard, stable metal surface ready, such as a small anvil or the back of a vise.
- Cutting and shaping: A small metal saw, a set of files (flat, half-round), and sandpaper with different grits (from 80 to 600, or even more).
- Clamping and measuring: At least two sturdy clamps, a ruler or calipers.
Safety first: your reflexes before you begin
Never neglect your safety. Wearing safety glasses is mandatory during all drilling, cutting, and hammering operations. Similarly, a dust mask is essential when sanding wood or composite materials such as G10.


Phase 1: Preparation and precision drilling
This first phase of the work is the most critical of all. Perfectly aligned drilling is the essential condition for a flawless final assembly. Take your time with this step.
- Preparing the surfaces: Start by ensuring that the tang of your knife and the inner face of both scales are perfectly flat. Lightly sand them to promote glue adhesion, then thoroughly degrease all these surfaces with a cloth dampened with acetone or methylated spirits.
- Drilling the first insert: For perfect alignment, temporarily attach one of your inserts to the blade using double-sided tape. Then, using the existing holes in the tang as a guide, drill the insert all the way through.
- Drill the second plate . Remove the first plate. Insert small pieces of your rivet stems into the holes you just drilled in the tang. These stems will act as centering pins. Now position the second plate on the other side of the tang; it will be perfectly aligned thanks to the stems. Clamp everything together, then drill this second plate, again using the holes in the tang as a guide.
- The dry fit: This is the final check before gluing. Assemble everything (blade, both grips, and rivet stems) without applying glue. Everything must fit perfectly, without play or gaps between the parts. This is your last chance to make any necessary corrections with a file.
Phase 2: Gluing and final assembly
Epoxy bonding will not only seal your sleeve against moisture, but it will also greatly contribute to the overall strength, in addition to the rivets.
- Prepare the glue On a disposable surface (a piece of cardboard), mix the two components of your epoxy glue respecting the proportions indicated by the manufacturer.
- Apply the glue. Using a small spatula, generously but evenly coat the tang of the knife as well as the inner faces of both scales.
- Assemble your handle quickly in the following order: one scale, the blade, then the second scale. Next, push your rivet stems (which you will have cut slightly longer than the total thickness of the handle) through the holes to maintain alignment.
- Clamp and clean. Clamp the assembly firmly with your clamps, protecting the wood with small shims if necessary. A little glue will inevitably ooze out the sides; immediately use a cloth dampened with alcohol to clean up this excess before it hardens.
- Allow to dry. Patience is a virtue. Strictly adhere to the complete drying time indicated for your epoxy adhesive, which is often 24 hours for maximum strength.
Phase 3: Riveting, the hammer stage
Your handle is now a solid, glued block. It's time to move on to the actual riveting stage, which will mechanically and permanently lock the entire assembly.
Cut the rivets to the correct length
Using your hacksaw, cut off the protruding stems. You should leave them slightly protruding, about 1 to 1.5 millimeters on each side of the handle. This extra material will be used to form the rivet heads.
The "peening" technique: how to shape the rivet head
The key to success here is lightness and repetition, not brute force.
- Place one side of your handle flat on your anvil or solid metal surface.
- With the round part (the peen) of your hammer, begin to tap gently but firmly on the center of the rivet shank.
- Continue with light, quick strokes, making circular motions. Start from the center and gradually move towards the edges of the rod. Your goal is to "spread" the metal so that it deforms into a dome, not to flatten it all at once.
- Turn the knife over very regularly to work both sides of the rivet equally. This will ensure a well-centered head and even pressure.
- Continue this process until the rivet head is well formed, in perfect contact with the handle surface, and there is no play. Repeat for all rivets.
Phase 4: Finishing the handle
This is the final step, the one that will reveal the full beauty of your work. You will transform the raw, functional block into a comfortable, smooth, and aesthetically pleasing handle.
- To flatten the rivets , use a flat file to very gently file the domed heads of your rivets until they are perfectly flush with the surface of your handle. Go slowly to avoid scratching the wood.
- Shaping the handle: Using files, rasps, and then coarse sandpaper (80 or 120 grit), shape the handle to give it an ergonomic and comfortable fit. Round off the corners and refine the curves.
- Sanding is a step that requires patience. Sand the entire handle, gradually increasing the grit of the sandpaper. Start with #120, then #240, then #400, and finally #600 or higher for a perfectly smooth surface.
- Applying the finish: Carefully dust your handle. Then apply the oil (linseed oil, tung oil, etc.) or wax of your choice to nourish, protect, and reveal the natural beauty of your handle's material.
Conclusion: more than just a handle, a source of pride
By following these different phases methodically and patiently, you have accomplished much more than simply assembling a handle. You have created a durable and robust piece using a traditional knife-making technique.
The process is complete. Take a moment to appreciate the result. There is immense satisfaction in holding in your hand a tool that you have shaped and assembled yourself. Congratulations on your excellent work!


This site is protected by hCaptcha and the hCaptcha Privacy Policy and Terms of Service apply.