

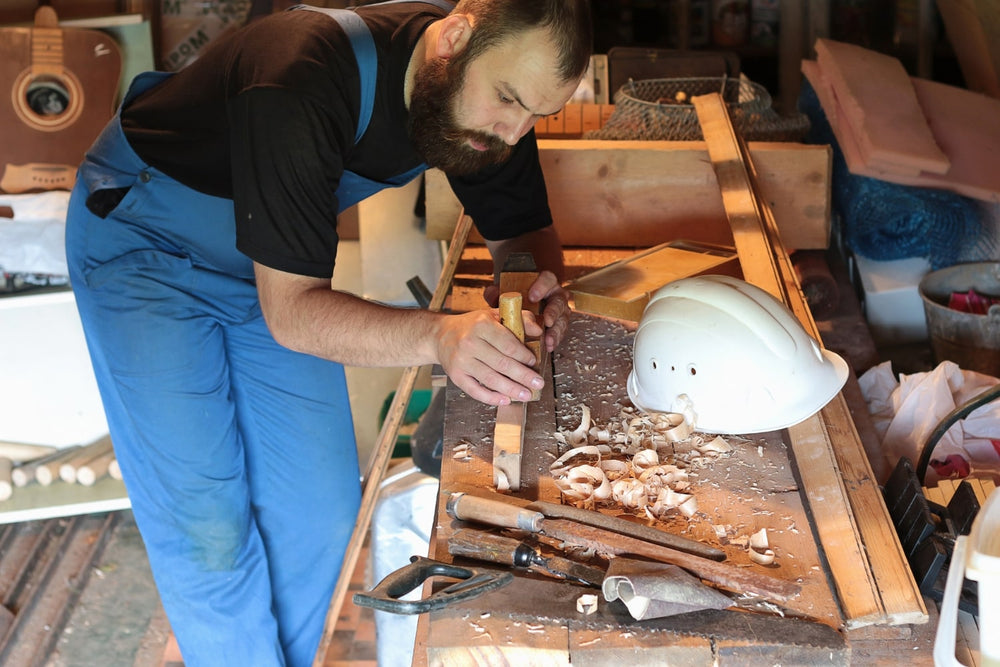
Making a knife handle: the complete guide
Crafting your own knife handle is a deeply satisfying knifemaking experience. It's the art of transforming a simple blade, a steel core, into a unique, personal tool perfectly suited to your hand. This project may seem complex, even intimidating, as it requires specific tools and skills.
However, with method, patience, and the right advice, this handcrafted project is entirely achievable. This guide aims to accompany you every step of the way, from the blank sheet of paper with your sketches to the final coat of finishing oil. We will break down the entire process to make it clear and accessible, allowing you to create a handle you will be, quite rightly, very proud of.
Step 0: The battle plan – design and choice of materials
As with any successful construction project, its success begins long before you pick up the first tool. This design and planning phase is the most important of all, as it will determine all subsequent steps.
Understanding your blade: full tang or silk?
First of all, you need to identify the type of blade you are going to use.
- Full Tang: This is the most common, robust, and simplest configuration for beginners. The metal of the blade, called the "tang," extends the entire length and follows the shape of the handle. The handle will therefore consist of two scales that sandwich the tang. This guide will focus primarily on this method.
- The tang (Hidden Tang): On this type of blade, the tang is a thinner metal rod that is inserted into a block of material. The construction is different and somewhat more complex, requiring long and precise drilling.
The choice of handle material (the grips)
This is where your creativity comes into play. The possibilities are vast.
- Wood: The classic and warm choice. Opt for dense and stable woods such as olive, walnut, boxwood, or ebony. For maximum durability, stabilized wood (impregnated with resin under vacuum) is an excellent option as it is impervious to moisture.
- Composites: Very popular, they are extremely stable and resistant. Micarta (made from canvas, linen or paper compressed in resin) and G10 (made from fiberglass and resin) offer a wide variety of colors and textures.
Choosing the hardware (rivets)
The rivets, or "pins", pass through the plates and the silk to secure the whole.
- Simple rods: Solid rods in brass, nickel silver, stainless steel or copper, which you will cut and flatten yourself.
- Decorative rivets: You can also opt for mosaic rivets or knife-maker's screws (Corby or Loveless type) for a more elaborate look and an assembly that can be disassembled.
Designing your sleeve: ergonomics and style
Take the time to sketch the final shape of your sleeve on paper. Consider the ergonomics: how will your hand be positioned? Where will your fingers rest? A good grip is just as important as aesthetics.


Workshop preparation: tools and safety
A good craftsman is a well-equipped craftsman who works safely. Let's now take a look at what you'll need to complete your project successfully.
The complete list of tools
- Safety: Protective glasses, dust mask, work gloves.
- Tracing and cutting: A pencil, a ruler, a saw (scroll saw, band saw, or even a good hand saw), a metal saw (for rivets).
- Drilling: A drill (a pillar drill is ideal for precision, otherwise a hand drill will do), drill bits of the same diameter as your rivet stems.
- Shaping: Files (flat, half-round), wood rasps, sandpaper with a variety of grits (from 80 to 600, or more).
- Bonding and clamping: Slow-setting two-component epoxy glue (minimum 30 minutes), at least two good quality clamps.
- Riveting: A round-peen hammer (also called a mechanic's hammer) and a hard, stable metal surface (a small anvil, a steel pile, or the back of a vise).
Safety rules to follow
- Eyes and lungs: Wearing protective glasses and a dust mask is systematic and non-negotiable during all phases of drilling, cutting and sanding.
- Hands: Be careful with sharp tools and the heat that can be generated by machine sanding. Protect your knife blade with thick tape to prevent accidental cuts.
Making a full sole handle (step by step)
You're ready, your plan is clear. Now it's time to start building. Proceed methodically and patiently, as each step builds upon the success of the previous one.
Step 1: Preparing and drilling the pads
- Start by ensuring that the inner faces of your scales and the tang of the blade are perfectly flat and clean. Lightly sand them to create a good surface for the glue to adhere to.
- Attach the first plate to the silk (using double-sided tape, for example). Using the holes in the silk as a guide, pierce the plate completely through.
- Next, use small pieces of your rivet stems as centering pins to perfectly align the second plate on the other side. Tighten everything and drill through this second plate.
- Once the holes are drilled, shape the front of your scales (the part that will be against the blade guard). It is indeed much easier to do this finishing now than once the handle is glued on.
- Finally, perform a complete "dry" assembly (without glue) with the plates and rivets for a final check. Everything must fit perfectly.
Step 2: Gluing and assembly
- Degrease all surfaces to be glued (silk and inside of the plates) one last time with acetone or alcohol.
- Prepare your epoxy glue mixture according to the manufacturer's instructions.
- Apply a thin layer of glue to the silk and to the inner faces of both plates.
- Assemble your "sandwich": plate, blade, second plate. Then drive in your rivet rods.
- Clamp everything tightly, protecting the plates with small wooden blocks. Immediately clean any excess glue that has oozed out with a cloth and alcohol, then let it dry for 24 hours.
Step 3: Riveting and shaping the handle
- Your handle is now a solid block. Trim the rivet stems so that they protrude only 1 to 1.5 mm on each side.
- Proceed to riveting. Using the rounded end of your hammer, gently tap in a circular motion to spread the metal and form a domed rivet head. Work both sides equally.
- Once the rivets are well set, begin shaping the handle using your files and rasps to remove excess material and outline the ergonomic shape you had designed.
Step 4: Final sanding
- This step requires patience and makes all the difference. Start sanding with a coarse grit (for example, #120) to refine the shape and remove all file marks.
- Then gradually increase the fineness of the grit (#240, #400, #600…), making sure at each stage to completely remove the scratches left by the previous grit.
Step 5: Applying the oil or wax
- When you are satisfied with the smoothness of your sanding, meticulously dust off the handle.
- Apply a generous first coat of oil (linseed oil, tung oil, etc.) or beeswax. Let it penetrate, wipe off the excess, then repeat the process several times to deeply nourish and protect the handle.
The method for silk handles (hidden tang): another challenge
Just so you know, the construction of a tang handle is different. It's not based on scales, but on a single block of material. The main challenge is drilling a long, perfectly fitted slot or hole to insert the blade's tang. The handle is then secured by gluing and often by peening the protruding end of the tang at the back of the pommel, which mechanically locks it in place.
Conclusion: the pride of creating your own tool
By following this guide, you have accomplished much more than simply crafting a handle. Starting with a bare blade and raw materials, you have, through a series of precise steps, brought to life a complete, functional, and absolutely unique object.
Take a moment to appreciate the result. The pride of holding a tool you've crafted yourself is an incomparable satisfaction. From now on, every cut you make with this knife will have a special flavor for you—the flavor of a job well done.



This site is protected by hCaptcha and the hCaptcha Privacy Policy and Terms of Service apply.