
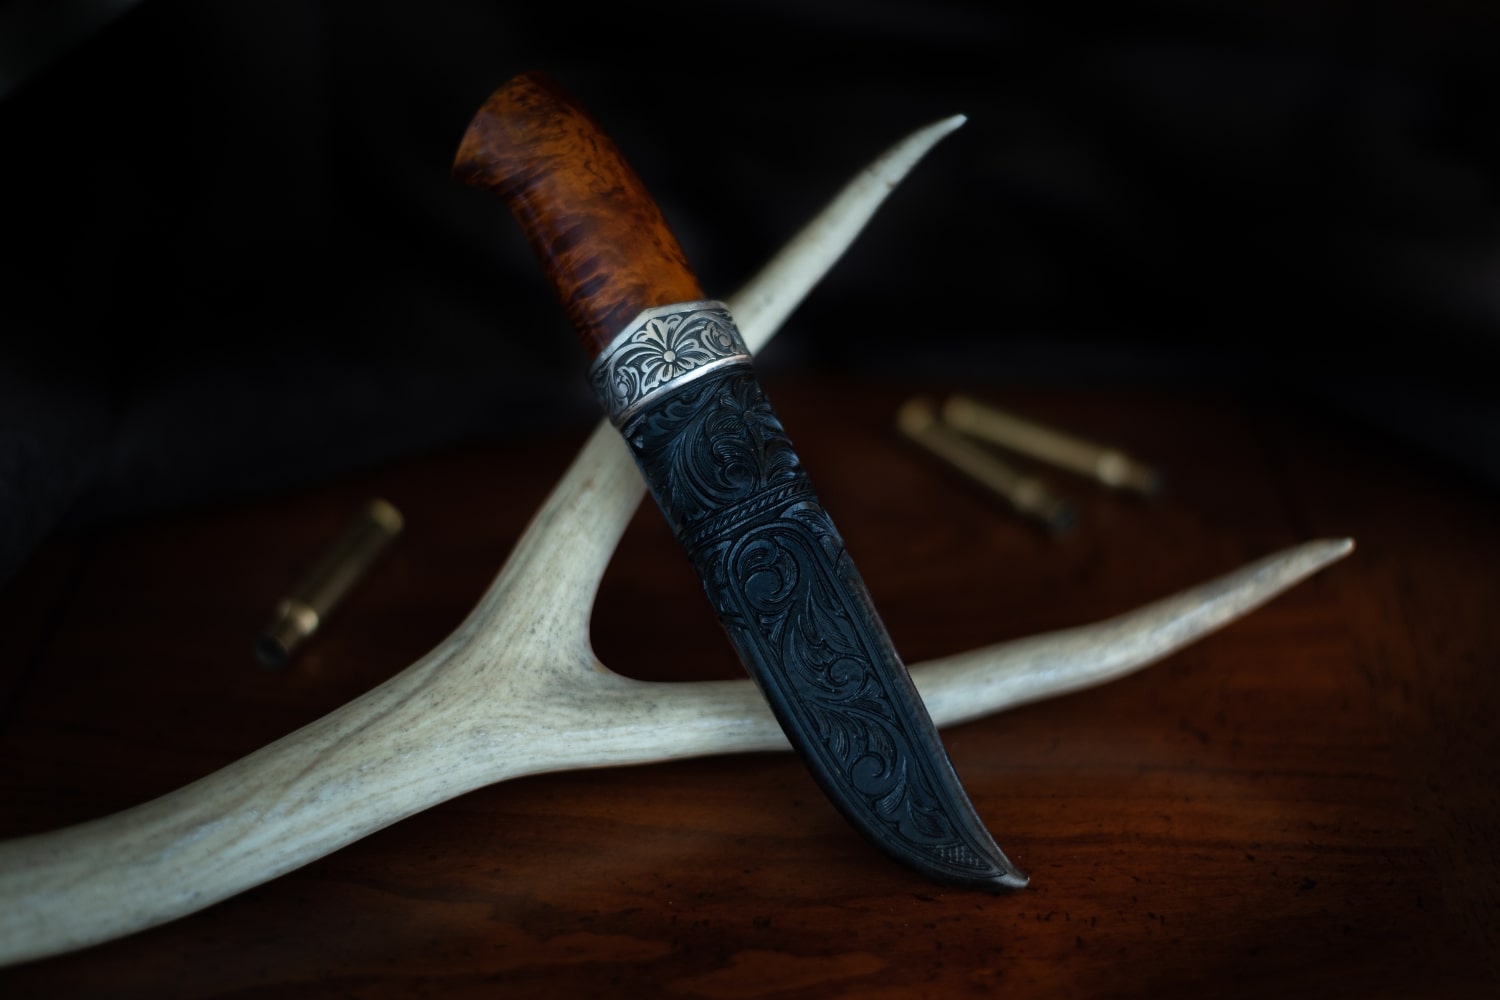
How to make a knife handle from deer antler
Crafting a knife handle from stag antler is more than just a DIY project. It's an act of craftsmanship that connects your tool to nature, a primal aesthetic, and a long tradition of hunting and camping knife-making. However, this noble and living material doesn't yield to the same care as a simple plank of wood. Its irregular shape, unique structure, and even its distinctive scent during the working process demand a specific and respectful approach.
This guide aims to accompany you on this exciting adventure. We'll reveal everything you need to know to transform a piece of raw antler into a handle that is comfortable, strong, and absolutely unique. By following our advice, you can create a knife unlike any other.
Before you begin: understanding deer antler and preparing your project
Thorough preparation and a deep understanding of the material are the true keys to success in this unique project. This initial phase of reflection and planning is therefore essential before touching the first tool.
Deer antler: a living material with its own rules
- It's not wood: The most important point to understand is that "deer antler" is not wood, but bone. It is composed of a very hard and dense outer layer, and a more or less spongy and porous core, which is called "the marrow." This dual structure influences the entire way it is worked.
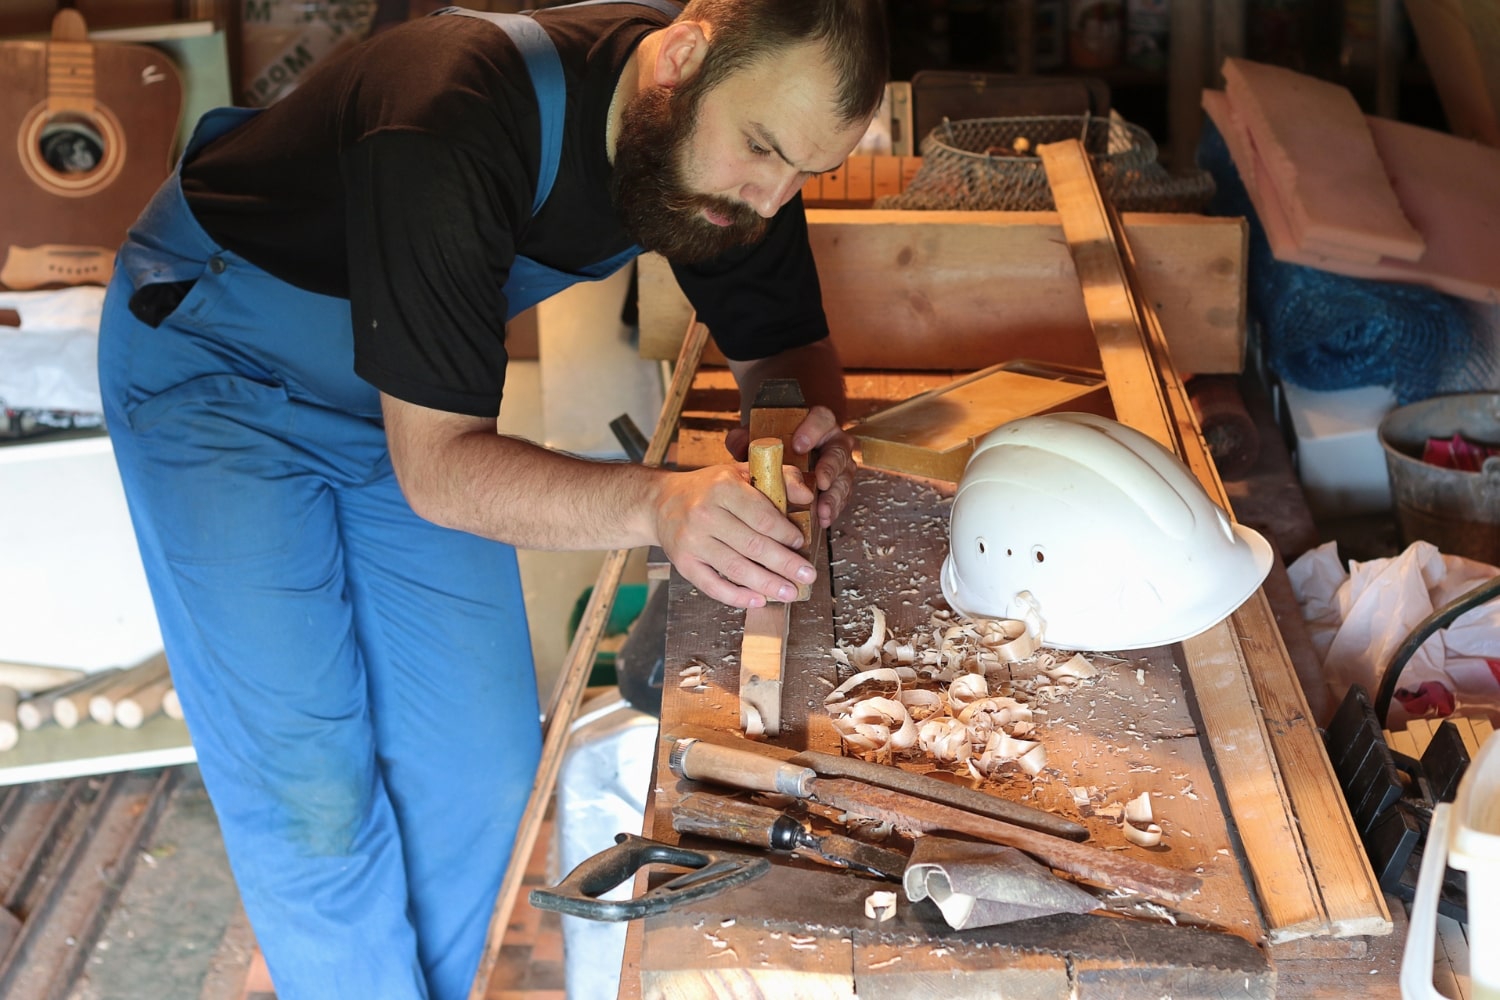
- The smell, an important detail: Be warned! Sawing, drilling, or sanding deer antler releases a very strong and particularly unpleasant odor, often compared to burning hair or bones at the dentist's office. It is therefore essential to work in a very well-ventilated area and wear a good quality respiratory protection mask.
Choosing the right piece for your project
A deer antler offers several parts, each with its own potential.
- The "crown": This is the rough base of the antlers, where they joined the animal's skull. Its texture and shape are perfect for use as a pommel (the back of the handle).
- The "merrain": This is the main beam of the wood, providing good lengths for the body of the handle.
- The "antlers": These are the points. The thickest ones can be used to make small handles.
The naturally cylindrical and irregular shape of stag antler makes it particularly well-suited for knives with a hidden tang (also called a "hidden tang" knife), where a metal rod is inserted inside the handle. This is the method we will describe in detail.
List of tools: preparing for precision work
- Safety: Protective glasses and, we insist, a very good quality dust mask (type FFP2 or FFP3).
- Cutting: A metal saw or a Japanese saw (Dozuki type) with fine teeth for clean cuts.
- Drilling: A drill (a pillar drill is a big plus for precision), as well as wood or metal drill bits of different diameters.
- Shaping: Metal files (flat and half-round), rasps, and sandpaper. A multi-function rotary tool (like a Dremel) with milling cutters and sanding drums will also be very helpful.
- Assembly: Slow-setting two-component epoxy glue, and a vise to hold the parts in place.


Main method: making a handle from deer antler on silk (hidden tang)
This is the most traditional and harmonious method for this material. It requires precision, but the result is worth it. Let's follow the process step by step.
1. The design and preparation of the deer antler
- Start by taking the piece of deer antler in your hand. Feel its shape, its weight. Hold it with the blade to visualize the final grip and determine the best orientation.
- Once the orientation is chosen, mark the cutting points at each end to obtain the desired sleeve length.
- Next, saw off both ends. Take your time to ensure straight cuts. Sand these flat surfaces so they are ready to receive the guard and pommel.
2. Drilling the silk slot (the most delicate step)
- Place the tang of your blade on the front end of the handle and trace its outline with a fine pencil. You will drill inside this outline.
- Choose a drill bit with a diameter slightly smaller than the thickness of your silk. Then drill a series of holes very close together, inside the outline, going as deep as possible without going through the handle.
- Once this first set of holes is made, use small files, finer drill bits, or a rotary tool to "clean up" the slot. The goal is to remove any remaining material between the holes and adjust the housing to the exact shape of the silk.
3. Adjusting the guard and silk (dry rigging)
- If your knife is intended to have a metal guard (the piece between the blade and the handle), now is the time to shape and adjust it so that it fits perfectly against the flat front surface of your handle.
- Test the insertion of the silk thread into its housing. This requires patience. The silk should go in with slight force, without any play. If it binds, identify the point of friction, remove it, and gently file the inside of the housing. Repeat this process until you achieve a perfect fit.
4. Epoxy bonding and final assembly
- Carefully degrease the blade's tang with acetone or alcohol.
- Prepare your epoxy glue. Then generously fill the hole drilled in the handle with the glue. Don't hesitate to put a little on the silk itself as well.
- Push the tang into the handle with a slow, continuous, and controlled motion. Position the guard at the same time if you are using one.
- Immediately wipe away any excess glue that may overflow. Finally, secure the knife in a vertical position (point upwards) in a vise or other support for 24 hours to allow for complete and unrestricted drying.
5. The finish: preserving the natural character
- The goal is generally not to alter the unique texture of the deer antler. Therefore, shaping should remain minimal.
- Using fine sandpaper, very lightly sand the edges or areas that might be uncomfortable to grip.
- Finally, polish the entire handle with a felt or cotton polishing wheel, or simply by rubbing it vigorously with a clean cloth. You can apply a thin coat of wax to protect it and give it a satin finish that will reveal its natural texture.
Alternative method: creating plates for a flat base
Although less common, it is possible to use stag antler for a flat sole mounting. However, this presents specific challenges.
- You will need to find a section of deer antler (often the stave) that is wide and thick enough.
- The most delicate operation will be to saw this piece in half lengthwise to obtain two scales.
- The porous core of the bone will then be exposed across the entire inner surface of the plates. You will need to either flatten it perfectly or fill it with tinted epoxy resin to obtain a stable bonding surface.
- The rest of the process (drilling, gluing and riveting) is then similar to that of a classic wooden handle.
Pro tips for a flawless result
To go further, here are some additional tips that will make a difference.
Managing odor and dust
We can't stress this enough: work outdoors if possible, or at the very least in a well-ventilated garage or workshop. A good shop vacuum cleaner placed near the work area is your best friend for capturing fine dust.
The technique of "burning" silk (advanced)
A traditional method for a perfect fit involves heating the tang of the blade until red-hot (with a blowtorch) and briefly pressing it into the socket. The heat will burn the antler and create a precise impression. Be aware that this is an advanced technique that produces a lot of smoke and carries risks. It is not recommended for beginners.
The exposed marrow finish
If the spongy core is visible at the ends of your handle, you can leave it natural for a rustic look, or seal it for protection. A few drops of cyanoacrylate glue (super glue), allowed to penetrate and then sanded once dry, will give a smooth, hard, and protected finish.
Conclusion: a knife with a unique and authentic character
By following these steps, you have accomplished far more than crafting a handle. You have tamed a noble and wild material to give a soul to a blade. Every texture, every color, and every imperfection of the stag antler you now hold in your hand tells a story—the story of nature and of your craftsmanship.
Congratulations! You have created a tool that is not only functional, but also deeply personal, an authentic companion for your adventures in the kitchen or outdoors.

trés grand merci ,ce tuto est trés explicite et trés bien détaillé .je me lance tout doucement car j aime faire des couteaux.c est le début! Encore merci.
Demauljean René
This site is protected by hCaptcha and the hCaptcha Privacy Policy and Terms of Service apply.