

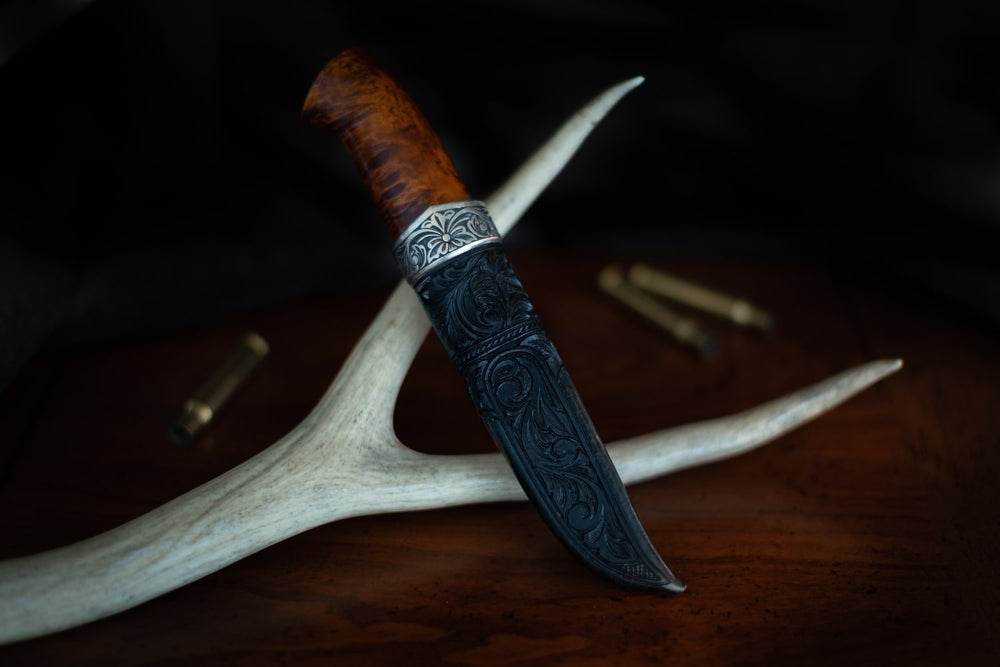
How to restore a horn knife handle
A horn knife handle is a unique object. Its warmth to the touch, the depth of its colors, and the patterns that each piece reveals make it a material that is at once noble, natural, and steeped in history. However, over time, through wear and tear and exposure to the environment, a horn handle can lose its luster, become dull, dry, or scratched.
Fortunately, it's entirely possible to give it a second life. This guide will walk you through the restoration process step by step. Far from being a complex operation, it's a work of patience and care that will allow you to rediscover the hidden beauty of your knife and preserve a truly unique object.
Before you begin: assess the condition of your horn handle
Before you even touch your knife, the very first and most important step is to observe and diagnose the damage. Like an art restorer, you need to understand the extent of the "damage" in order to choose the most appropriate and least aggressive method possible.
No. 1: The handle is dull and dry
- Symptoms: The handle has lost all its shine. It has a somewhat "dusty" or "milky" appearance. It may feel rough to the touch.
- Diagnosis: This is the most common and easiest case to treat. The surface of the horn has simply oxidized and needs to be cleaned, polished and nourished.
No. 2: The handle has surface scratches
- Symptoms: Fine scratches, which you can feel by running your fingernail over them, dot the surface of the handle.
- Diagnosis: In addition to polishing, light sanding with very fine abrasives will be necessary to even out the surface before restoring its shine.
No. 3: The handle has small cracks or separations
- Symptoms: You observe fine cracks, or a small space has formed between the horn and the metal parts of the knife (the bolster or the guard).
- Diagnosis: This is the most delicate case. These defects must first be stabilized before polishing can be carried out. If the cracks are wide and go all the way through, a DIY restoration becomes very risky, and it is best to consult a professional knifemaker.


The restorer's tools: gentleness and precision
To renovate the horn, forget about aggressive tools. Your equipment should be chosen for its precision and ability to work gently.
-
For cleaning:
- A soft microfiber cloth.
- Marseille soap or another very mild soap.
- An old, soft toothbrush.
-
For sanding (if necessary):
- Wet sandpaper for bodywork, with very fine grits: start with #800, then #1200, and #2000.
- "Micro-Mesh" type polishing pads are an excellent investment, offering grits up to #12000.
-
For repair (optional):
- Extra-fluid cyanoacrylate glue (like "Super Glue") to infiltrate and stabilize small cracks.
-
For polishing and finishing:
- A polishing paste for metals or plastics (white or pink).
- Felt or cotton polishing discs for a rotary tool (Dremel type), or simply a clean, lint-free cloth for hand work.
- Protective wax (Carnauba wax, antique wax, or Renaissance Wax).
- Safety: Protective eyewear and a dust mask.
The renovation process, step by step
The golden rule of restoration is simple: always go from the gentlest to the most aggressive . Follow these steps in order, stopping as soon as you are satisfied with the result.
Step 1: Gentle cleansing (the foundation of everything)
The goal is to degrease and clean the horn without saturating it with water, which could cause it to swell.
- Lightly dampen your soft cloth with lukewarm water and a little Marseille soap.
- Gently rub the entire handle to remove accumulated dirt.
- Use the soft toothbrush to clean the crevices near the metal parts.
- Quickly rinse the handle under a stream of cold water, then immediately and thoroughly wipe it with a dry cloth. Allow it to air dry for one hour.
Step 2: Repairing minor defects (optional)
Only perform this step if you have fine cracks to treat.
- Make sure the crack is clean and dry.
- Apply one or two drops of extra-thin cyanoacrylate glue. The glue will penetrate the crack by capillary action.
- Allow to dry completely for several hours. The glue will harden and stabilize the crack from the inside.
Step 3: Sanding to remove scratches
Only perform this step if your sleeve is scratched. If it is only dull, skip directly to step 4.
- Start with the finest grit possible that is effective on scratches (for example, #800). Lightly dampen the sandpaper.
- Sand the entire surface of the handle with regular and light strokes, never lingering on any one spot.
- Once the main scratches have disappeared, gradually move up to finer grits (#1200, #2000…). With each new step, sand in a direction perpendicular to the previous one until the scratches from the previous step have disappeared.
- The goal is to obtain a perfectly smooth surface, without any visible scratches, with a matte and uniform appearance.
Step 4: Polishing to reveal the shine
This is the magic step that will bring your sleeve back to life.
- Apply a small amount of polishing paste to your felt disc or cloth.
- If you are using a rotary tool, set it to a very slow speed to avoid overheating the horn.
- Polish the entire surface with constant, light movements. You will see the shine and depth of the horn reappear almost instantly.
- Once the desired result has been achieved, wipe the handle with a clean cloth to remove any remaining polishing paste.
Step 5: The final protection, the polish
The wax will nourish the horn and protect it from moisture and dirt.
- Take a small amount of wax with a clean cloth.
- Apply it to the entire handle, massaging with circular motions.
- Allow to dry for a few minutes, then polish vigorously with a soft, clean cloth to make it shine.
Daily care for lasting beauty
Now that your sleeve is refurbished, a few simple steps will be enough to keep it in perfect condition for many years.
- Avoid water and the dishwasher: They are the number one enemy. Never soak your knife and wash the blade by hand, taking care not to get the handle too wet.
- Nourish the horn from time to time: Once or twice a year, you can wipe it with a cloth very lightly soaked in mineral oil or apply a thin layer of wax to prevent it from drying out.
- Avoid heat: Never leave your knife near an intense heat source (radiator, hob, car dashboard in the sun), as the horn could warp or crack.
Conclusion: the second life of your horn handle
You can now admire the result of your work. By following this process with patience and care, you have not only saved a handle that had lost its luster, but you have also rediscovered the unique character and profound beauty of an exceptional natural material.
This restoration has allowed you to connect with your knife's history. By taking care of it, you ensure that it will continue to serve you faithfully, with the elegance and warmth that only horn can offer.


This site is protected by hCaptcha and the hCaptcha Privacy Policy and Terms of Service apply.