How to use a Yanagiba knife correctly
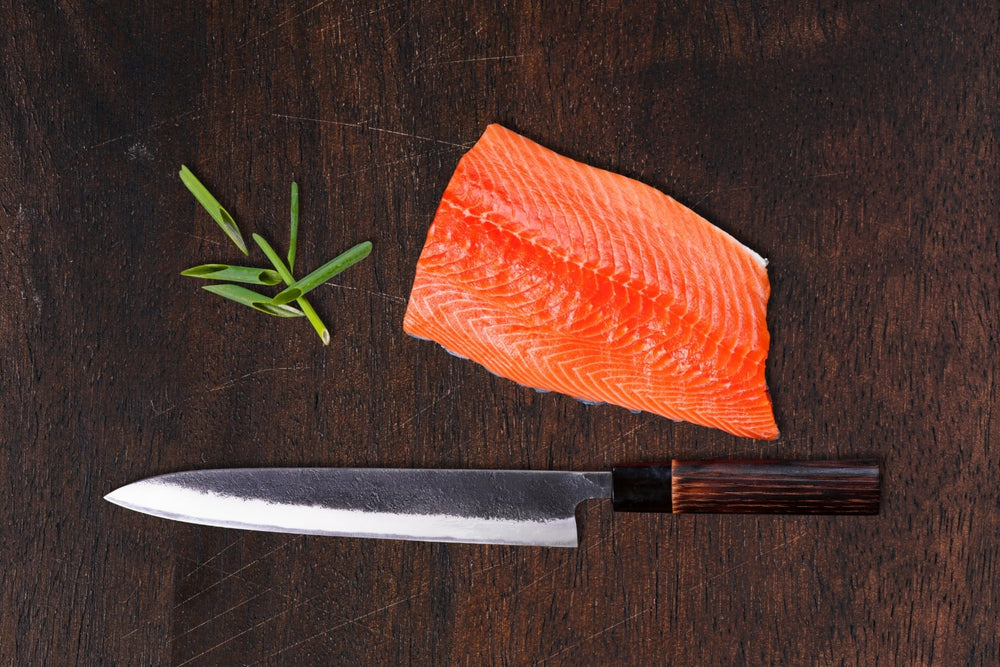
Using a Yanagiba knife requires understanding, precision, and consistency, as this traditional Japanese knife demands a technique adapted to its long, thin blade. Once you understand its balance, its unique bevel, and the pulling motion, you'll achieve smooth, clean slices that respect the texture. This guide will walk you through the process of mastering this iconic tool.
Understand the Yanagiba before using it
Before learning how to use a Yanagiba knife, one must understand its design. This blade, designed for cutting raw fish, has a unique geometry that influences every movement. Mastery therefore begins with a technical understanding of the knife.
The Yanagiba's design features an asymmetrical edge, a thick back, and a fine point. This allows for gradual penetration into the flesh without tearing it. The long blade naturally follows the pulling motion, making the cut smoother.
Essential technical characteristics
The components of a Yanagiba determine its behavior in hand. The following table summarizes the most important aspects.
| Element | Description | Utility |
|---|---|---|
| Long blade | 24 to 33 cm | Cut in one motion |
| Simple bevel cutting edge | Sharpening on one side only | Extremely clean cut |
| Hardened steel | High-end carbon or stainless steel | Superior thread strength |
| Thick back | Reinforced structure | Stability during cutting |
| Fine point | Tapered shape | Precision of the final movement |
| Channel wa | Lightweight wood | Natural grip |
These features work together. The narrow blade reduces resistance, while the simple bevel guides the cut. The more you understand these elements, the more precise your movements become.


Why does technique matter so much with Yanagiba?
Using a Yanagiba is not simply about slicing food. This knife was designed for a specific task: the clean cutting of raw fish. Its geometry demands controlled movements. The technique therefore directly influences the quality of the slice.
The cut should remain fluid, as a choppy motion alters the texture. The blade should glide effortlessly through the flesh. Improper use diminishes the quality of the result, even with an excellent knife.
The benefits of good mastery
- Smooth edges, without tears
- Total respect for the texture of the fish
- Impeccable aesthetics, essential for sashimi and nigiri
- Precise and even cut
- Safer use thanks to gesture control
- Optimizing the lifespan of the wire
These benefits appear quickly when you adopt the right techniques. Mastery requires not strength, but consistency.
Proper handling: the foundation of technique
The way you hold a Yanagiba defines the quality of your movements. An improperly adjusted grip leads to a lack of control and an uneven cut. So let's start with the position of the dominant hand.
The grip should be firm but natural. It should not restrict the wrist. The Yanagiba requires slight flexibility to accommodate longitudinal movements.
How to hold a Yanagiba correctly
Here are the steps to position your hand:
- Place your thumb against the handle, slightly forward towards the blade.
- Position your index finger along the back of the blade, without touching the edge.
- Wrap the handle with the other three fingers.
- Keep your wrist relaxed, aligned with the axis of the blade.
This grip improves stability and precision of movements. It facilitates the pulling movements that define the use of the Yanagiba.
The guiding hand: role and position
The guiding hand stabilizes the food. It must remain safe, protected, and stable. An incorrect position exposes the hand to unnecessary risk.
Respect these principles:
- Slightly fold your fingers to avoid contact with the blade.
- Gently place your hand on the fish fillet.
- Hold the surface without applying excessive pressure.
- Keep your hand still while the blade slides.
The precision relies largely on this guiding hand. It holds the food in place while the knife makes its movement.
The main movement: traction
The Yanagiba is not used by pushing. Its design dictates a specific movement: pulling. This technique takes advantage of the blade's length and its unique bevel.
The movement must remain fluid. The cut is made in a single motion, from the tip of the blade towards the base, near the handle.
How to perform a perfect pull-up
Follow the steps below:
- Place the tip of the blade on the fish.
- Tilt the blade slightly to adjust the bevel angle.
- Pull the blade towards you in a smooth, steady motion.
- Use the full length of the blade.
- Finish the cut close to the handle without adding pressure.
This movement creates a shiny surface, evidence of a clean cut.
Key points for improving fluidity
To achieve more precise movements:
- Maintain a steady speed.
- Avoid stopping during the cutting process.
- Never use force.
- Always align the movement with the length of the knife.
The more you repeat this action, the more natural it becomes.
Prepare the fish for Yanagiba cutting
The success of the filleting depends as much on the technique as on the preparation of the fish. Poorly prepared fish limits the effectiveness of the Yanagiba.
Clean and lightly dry the net surface. Moisture reduces the precision of movement. A stable, non-slip surface improves control.
Essential preparation steps
Here are the necessary actions:
- Use very fresh fish.
- Remove the remaining bones.
- Cut off any damp or irregular parts.
- Dry the surface with absorbent paper.
- Place the net on a stable board.
Proper preparation makes cutting easier and improves the visual quality of the slices.
Cutting sashimi step by step
Sashimi is the most well-known use of the Yanagiba. A successful sashimi cut relies on the precision and consistency of the movement.
Let's take the time to examine each step to ensure a professional result.
Position the fish correctly
Position the fillet perpendicular to the blade. The flesh should be facing in the opposite direction of the pull. This orientation minimizes resistance.
To cut the sashimi
Here is the basic technique:
- Place the tip of the Yanagiba on top of the net.
- Pull the blade towards you along its entire length.
- Lift the slice gently once the cut is complete.
- Repeat, maintaining a constant thickness.
To achieve a perfectly smooth surface
To obtain a glossy surface:
- Slightly adjust the angle of the bevel.
- Avoid going over the same spot multiple times.
- Control the tension of your guide hand.
- Stabilize the net before each movement.
The smooth surface reflects the quality of your craftsmanship.
Common mistakes to absolutely avoid
Even a good knife won't produce a perfect cut if you develop bad habits. Every mistake directly influences the final result.
| Common mistake | Consequence | Correction |
|---|---|---|
| Push the blade | Tears the flesh | Use only traction |
| Too much pressure | Irregular cut | Let the blade do its work |
| Poor handling | Loss of control | Adjust the position of the fingers |
| Speed too high | Imprecise cut | Prioritize consistency |
| Misaligned bevel | Sloping slices | Check the knife angle |
These mistakes can easily be avoided with attention and practice.
Essential maintenance of the Yanagiba
A Yanagiba requires careful maintenance , as its hard steel retains an exceptional edge for a long time, but it demands rigorous care.
Always clean the blade by hand immediately after use. Dry it completely to prevent oxidation, especially if it is made of carbon steel.
Sharpening the simple bevel
Yanagiba sharpening is done on water stones. The asymmetry of the blade must be respected.
Principles to follow:
- Use a suitable stone (1000, 3000, 8000).
- Maintain the angle of the bevel.
- Work in a controlled back-and-forth motion.
- Don't press too hard.
- Rinse and dry thoroughly.
This sharpening process prolongs the performance of the knife.
Suitable storage
For storing Yanagiba, we recommend:
- a wooden saya,
- a magnetic wall-mounted knife holder,
- a protective case.
Never leave your Yanagiba in a drawer. This damages the blade and increases the risk of accidents.
Comparison: Yanagiba vs. other specialty knives
Even if we focus exclusively on the Yanagiba, a clear table allows us to better understand its precise role in relation to other specialized knives.
| Knife | Main use | Major difference |
|---|---|---|
| Yanagiba | Sashimi | Simple bevel cutting edge |
| Deba | Thread | Heavy, designed for sharp edges |
| Sujihiki | Slicing | Double bevel, more versatile |
| Takohiki | Sashimi | Straight blade, regional choice |
This comparison clarifies the specialization of the Yanagiba: a clean and long cut without pressure.
Advanced Use of Yanagiba
Once you've mastered the basics, you can refine your technique. Yanagiba rewards regular users with increased accuracy.
Advanced techniques involve angle control, thickness consistency, and speed.
Advanced techniques to master
- Adjust the wrist to enhance fluidity.
- Adjust the pressure according to the thickness of the fish.
- Use the tip for delicate initial cuts.
- Manage the tension of the net to maintain stability.
Thickness control
To obtain perfectly even slices:
- Align each cut with the previous one.
- Maintain the same angle with each movement.
- Breathe calmly before performing the pull-up.
Repeating these movements improves control and consistency.
Tips for making rapid progress
Here are some simple tips to improve your performance:
- Practice pulling on simple foods before fish.
- Always work with a very sharp knife.
- Observe the angle of the bevel before each movement.
- Maintain a stable and balanced posture.
- Keep the fingers of the guide hand folded.
These principles help you progress quickly and without mistakes.
Conclusion
Learning how to use a Yanagiba knife requires discipline, precision, and an understanding of its traditional design. This Japanese knife, intended for slicing raw fish, demands fluid movements, careful maintenance, and a structured technique. With regular practice, you will achieve clean, glossy, and perfectly controlled slices. By respecting each step, you will make the Yanagiba an efficient, precise, and indispensable tool in your kitchen.
FAQ
1. Why does the Yanagiba use a unique bevel?
The Yanagiba features a single bevel to naturally guide the blade during the pulling motion. This geometry creates a clean, even cut without tearing. It also results in a glossy surface, enhancing the appearance of the sashimi. This bevel increases precision by reducing resistance.
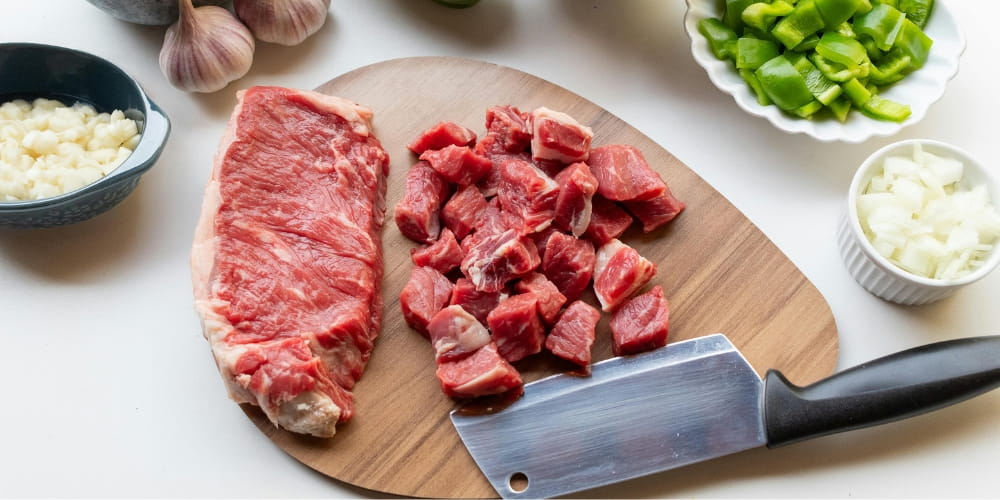
2. Can a Yanagiba be used for foods other than raw fish?
Yes, but only for very tender foods. The Yanagiba works well for raw meat, carpaccio, or certain delicate fruits. However, it is not suitable for hard foods, as this can damage its bevel. Its design is primarily intended for long, thin cuts without excessive pressure.
3. How can I tell if my Yanagiba is properly sharpened?
A well-sharpened Yanagiba glides effortlessly through the fish, leaving a smooth, shiny surface. You should feel no resistance when pulling. If the surface shows any nicks or a dull appearance, the blade needs sharpening. A good waterstone will ensure optimal results.
4. What blade length is best for beginners?
A 27 cm blade offers the best compromise between precision and maneuverability. It's long enough for a full pull, yet short enough to remain easy to control. This length allows beginners to develop their technique without difficulty and improve their consistency.
5. Is the Yanagiba suitable for novice users?
Yes, provided you respect the essential basics. The Yanagiba requires a precise pulling technique, but it remains accessible thanks to its stable geometry. Beginners progress quickly by following simple movements, maintaining a sharp blade, and practicing regularly. With discipline, this knife becomes intuitive.


This site is protected by hCaptcha and the hCaptcha Privacy Policy and Terms of Service apply.