
What grit should you choose to sharpen your knife?
You're standing in front of a sharpening stone, ready to bring your knives back to life, but some numbers are puzzling you: #400, #1000, #6000. These numbers, which might seem like a secret code, are actually the key to successful sharpening. Choosing the wrong grit can make your work long and inefficient, or even damage your blade.
What is the "grit" of a whetstone?
Before choosing a number, it is essential to understand what the "grain" represents. This is actually the most important concept, the one that gives your stone all its power and usefulness.
A story of abrasives: the comparison with sandpaper
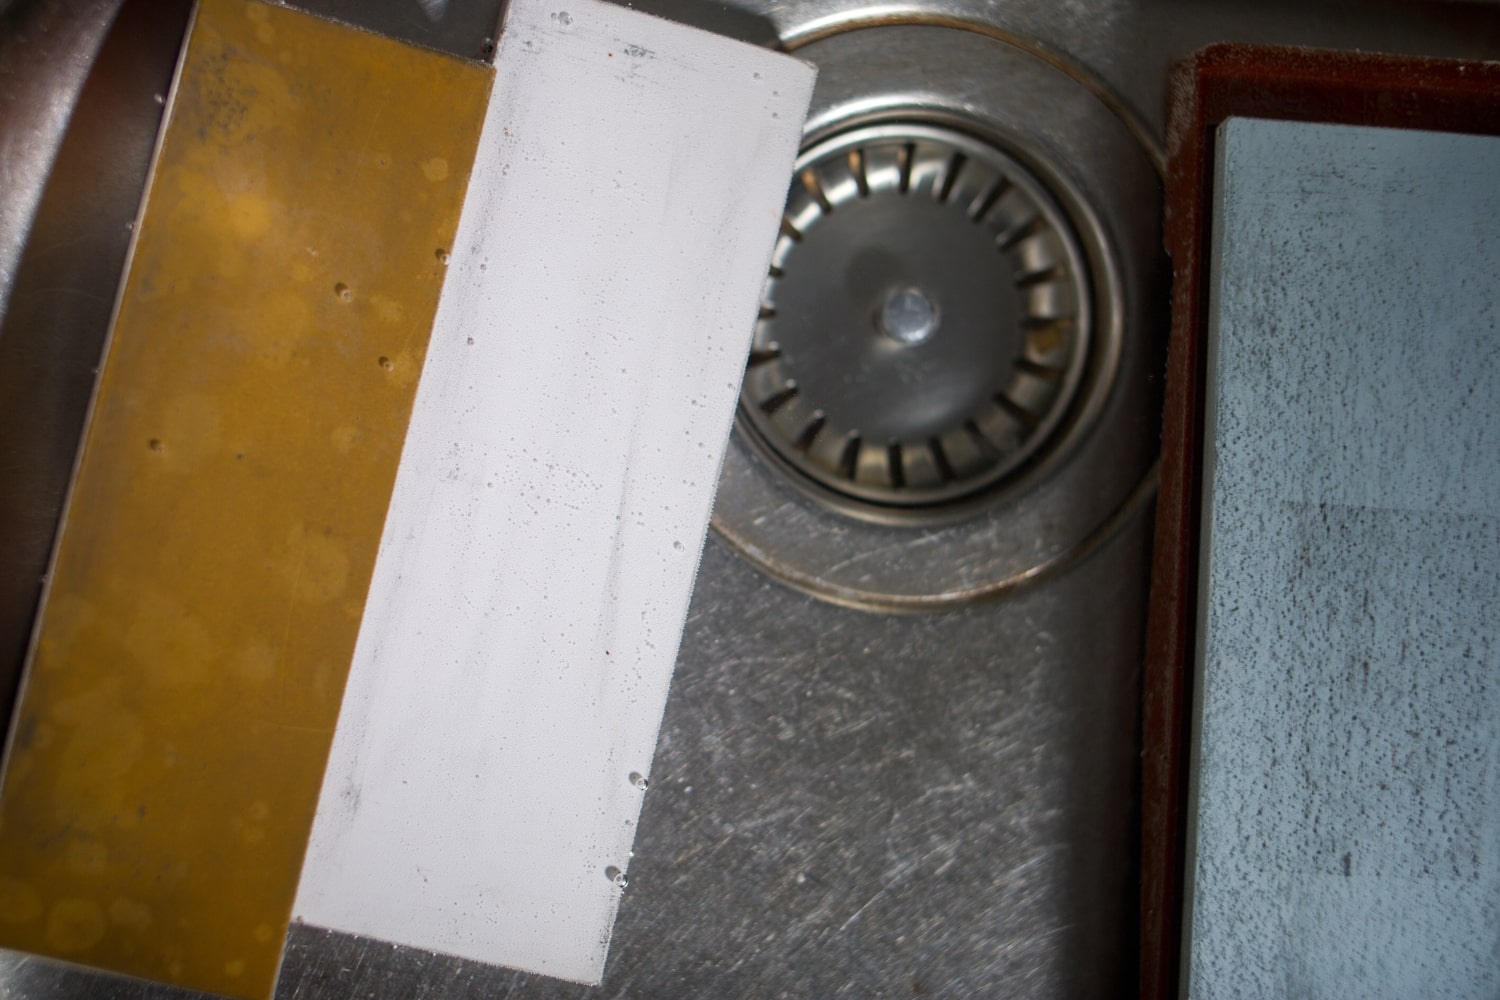
The term "grain," also called particle size, simply refers to the size and density of the abrasive particles that make up the surface of the stone. To use a very simple analogy, it's exactly the same principle as the sandpaper you use to sand wood.
- A coarse grit (like coarse sandpaper) is very aggressive. It removes a lot of material quickly.
- A fine grit (like a finishing paper) is much gentler. It polishes the surface without wearing it down deeply.
Understanding the numbers: the JIS standard
The rule for interpreting the numbers on the stones is simple and universal:
- The lower the number, the coarser the grain and therefore the more abrasive the stone.
- The higher the number, the finer the grain and the more the stone is used for polishing and finishing.
It's helpful to know that most water stones sold worldwide use the Japanese Industrial Standards (JIS) to classify their grit. Therefore, this is the scale we will be referring to in this guide.


The 3 main stages of sharpening: repair, sharpen, polish
To fully understand the role of each grain, sharpening should be viewed not as a single action, but as a process that can be carried out in three distinct stages. Each stage prepares the ground for the next.
Step 1: Roughing out and repairing (the heavy work)
The goal of this first phase is to tackle heavily damaged blades. This is where you will eliminate visible defects such as small chips in the edge, or completely reshape the bevel of a knife that hasn't been maintained for years.
Step 2: Sharpen (the heart of the work)
This is the central and most frequent step. Its purpose is to create the sharp edge of the blade. It is this phase that transforms a knife simply dulled by daily use into a functional and efficient cutting tool once again.
Step 3: Refine and polish (the "razor-sharp" finish)
This final step aims to perfect the edge created earlier. By polishing the edge, you make it not only smoother and sharper, but also stronger and more durable. It is this finish that makes the difference between a knife that cuts well and a knife with an exceptional edge.
The grain guide: which number for which action
Now that you know the three main steps of the process, it's time to associate specific grain sizes with each action. This way, you'll know precisely which type of stone to use for each situation.
Coarse grains (JIS #200 to #800): for emergency situations
- Use: These stones are true metal planes. They are exclusively for repair and roughing. Their abrasive power is very high, so they remove material very quickly.
- When to use them? Use them only if your knife has visible chips on the edge or if it is so dull that it no longer cuts at all.
Medium grit (JIS #1000 to #2000): the heart of sharpening
- Use: This is the most versatile and important stone of all. It has a perfect balance between sufficient abrasive power to create an effective edge and a fineness that does not damage the blade.
- When to use it? For the regular maintenance of all your knives. If you could only own one sharpening stone, it would be a #1000 stone.
Fine grits (JIS #3000 to #8000+): for an expert finish
- Use: These stones don't create the edge, they enhance it. They polish the edge to make it incredibly smooth, which increases the sharpness of the cut and the longevity of the edge.
- When to use them? Always after passing over a medium grit stone (#1000 or #2000), in order to achieve a superior level of performance and a "mirror" finish.
Summary table to help you see things clearly
To give you an overview, here is a summary table to keep as a reminder.
| Grains Beach (JIS) | Stage Name | Main Role | When to use it? |
| #200 – #800 | Roughing out / Repair | Remove a lot of material | Very damaged, chipped knife |
| #1000 – #2000 | Sharpening | Create the edge of the cutting edge | Regular maintenance, dull knife |
| #3000 – #5000 | Refining | Polish the thread, increase the bite | For a high-quality finish |
| #6000 and up | Polishing / Mirror finish | To achieve a "razor-sharp" edge | For enthusiasts and collectors of prestigious blades |
How to build your ideal set of stones
It's completely unnecessary to own a dozen sharpening stones to properly maintain your knives. Your choice should instead be based on your skill level, your budget, and the level of performance you're looking for.
The essential beginner's kit
- Option 1 (The bare minimum): A single #1000 grit whetstone. It will allow you to do the essentials: restore a good edge to a dull blade.
- Option 2 (Most recommended): A combination stone . These very practical stones offer two sides with different grits. A #1000/#3000 combination is the perfect choice to start with, allowing you to sharpen and achieve a beautiful finish.
The enlightened amateur's set
If you develop a passion for sharpening, you can expand your collection for greater versatility.
- Add a coarse-grit stone (e.g., #400) to be able to repair the most damaged knives.
- Add a finer finishing stone (e.g., #5000 or #6000) for even more impressive results.
- Your basic set could therefore be: #400 / #1000 / #5000.
The expert's arsenal
For enthusiasts seeking absolute perfection, the progression continues with:
- Extreme finishing stones (#8000, #12000, etc).
- A strop with polishing paste for the final step, which perfectly aligns the edge and gives it a surgical edge.
Do you have to use all your stones every time?
This is a very important question that will save you a lot of time. The answer is a resounding no. You should only use the stones necessary for the current condition of your knife.
Scenario 1: The classic maintenance routine
For a knife that's just slightly less sharp, there's no need to start with a coarse grit. A pass on your #1000 stone, followed by a pass on your finishing stone (e.g., #3000 ), is the perfect routine for regular maintenance.
Scenario 2: The grand restoration of a damaged blade
It is only in this specific case (a chipped or extremely dull blade) that you will follow the complete process. You will then begin with the coarsest stone (e.g., #400 ) to repair it, then you will progressively move up to finer grits ( #1000 , #3000 , #6000 …) to rebuild, sharpen, and refine the new edge.
Conclusion: Progress is key
As you've probably gathered, choosing the right grit isn't some obscure science, but a matter of logical progression. You always start with the coarsest grit needed for the blade's condition, then gradually move towards the finest grit desired for the finish.
The best advice is to start simple. A good #1000 stone or a #1000/#3000 combination stone is the ideal entry point into the fascinating world of sharpening. With these tools, you'll already achieve spectacular results. Later, you can always expand your collection to explore new levels of sharpness and satisfaction.


This site is protected by hCaptcha and the hCaptcha Privacy Policy and Terms of Service apply.